
When I first started using the Invid Elevate app, one of my biggest struggles was figuring out how to organize my cameras properly.
At first, everything felt confusing because the live feeds were messy, and switching between cameras was slow.
Over time, I learned different tricks that helped me set up a neat and efficient layout. In this guide, I will share exactly how to organize camera on Invid Elevate app in a way that’s simple, clean, and easy to manage.
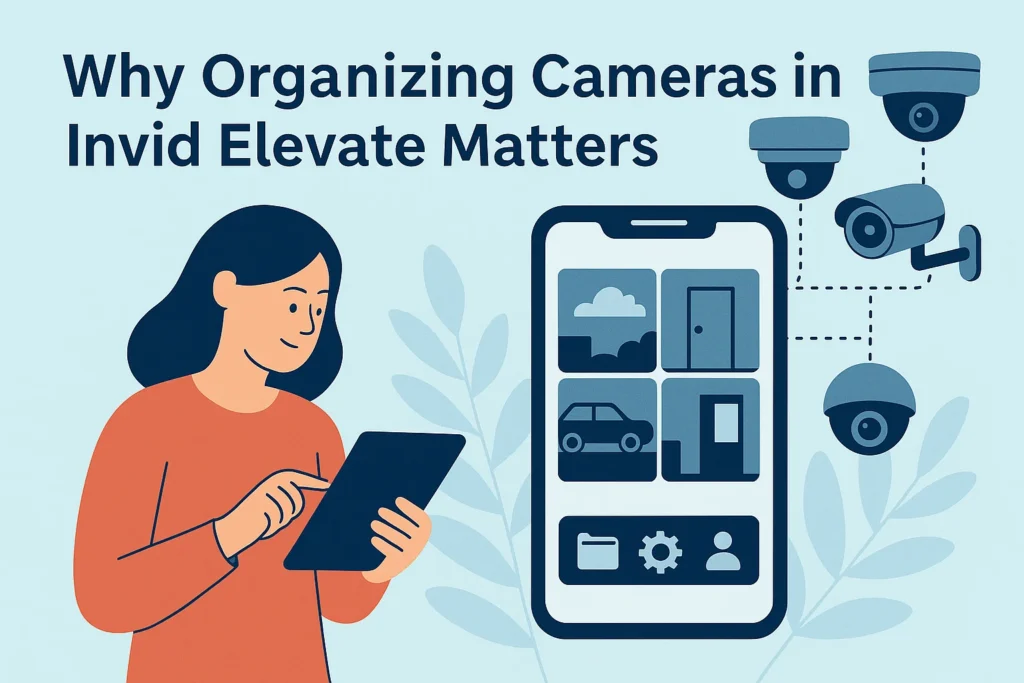
Why Organizing Cameras in Invid Elevate Matters
When you use multiple security cameras at home, office, or shop, it’s very easy to get lost in the clutter.
I realized that without proper organization, even a good app like Invid Elevate can feel difficult.
Organizing your cameras helps you:
- Quickly access the right camera.
- Save time when reviewing footage.
- Reduce mistakes during live monitoring.
- Improve overall security management.
This is exactly why I wanted to master the process.
Step 1: Install and Set Up Invid Elevate App
Before you can organize cameras, you need the app ready.
I downloaded the official app from the Google Play Store and my friend used the Apple App Store.
It’s free, and setup is straightforward:
- Download and install the Invid Elevate app.
- Create your account with email.
- Log in and connect your DVR or NVR system.
- Allow permissions for camera access.
Now that the app is ready, let’s move to the organization part.
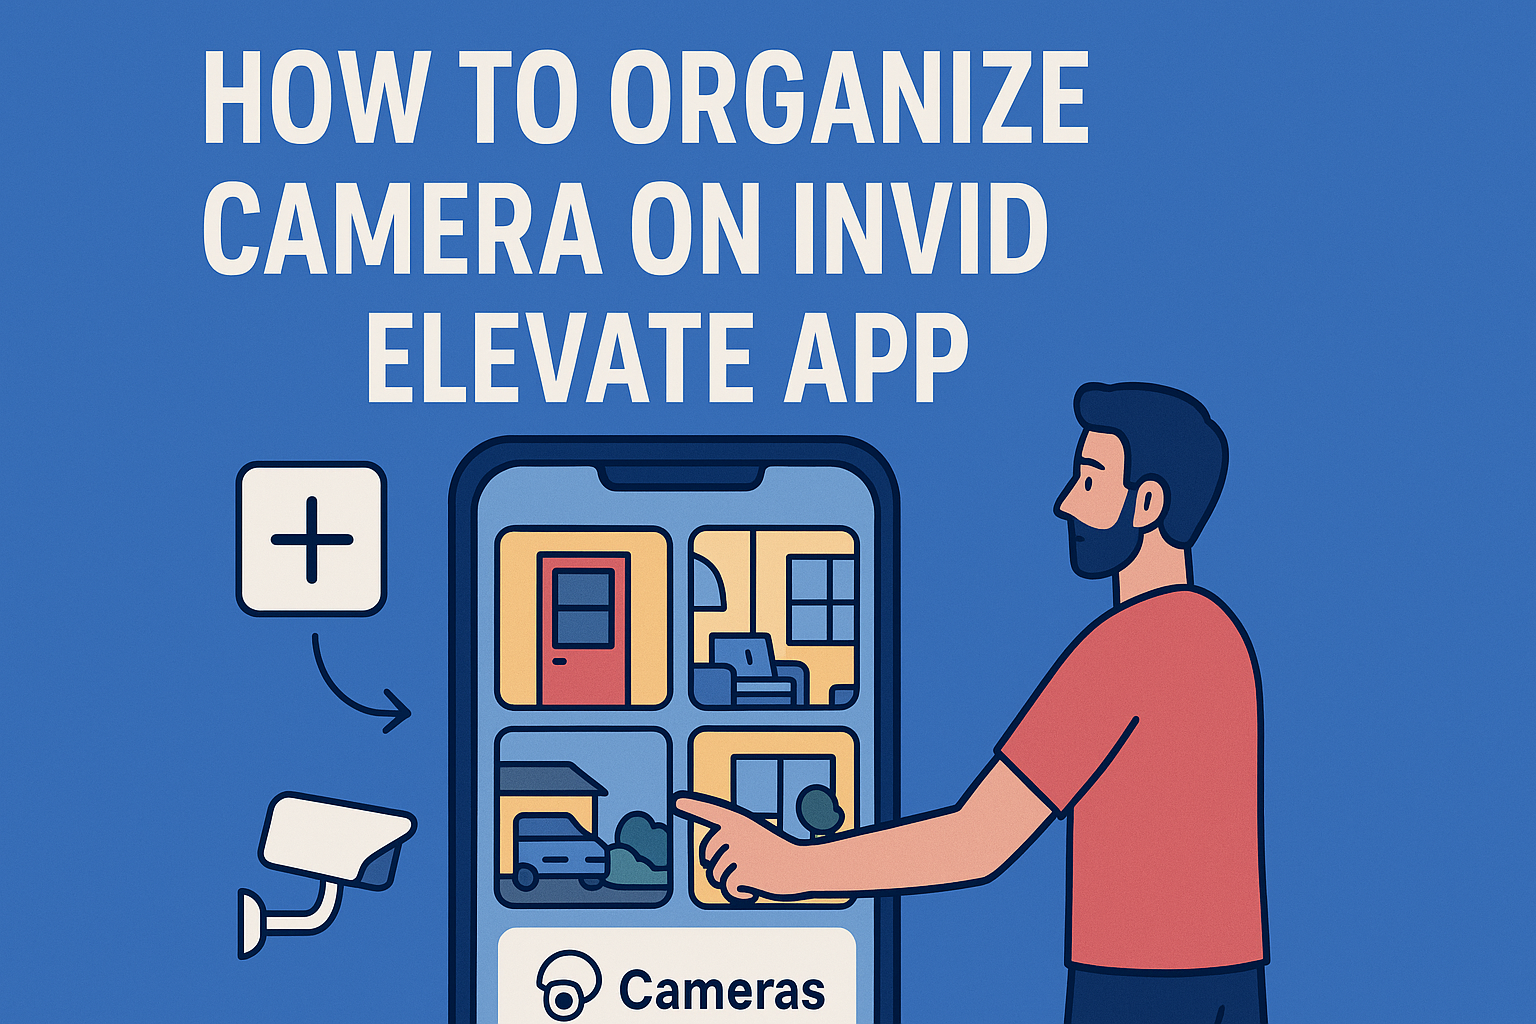
Step 2: Add Cameras to Your Account
The first time I connected my cameras, the feeds showed up randomly.
Here’s what I did to organize them:
- Tap on the “+ Add Device” option.
- Enter the device name, IP address, and login details.
- Save the settings.
Each camera appeared under my devices list.
The trick is to name them clearly, like “Front Door”, “Backyard”, or “Office Room” instead of leaving them with default numbers.
This small step makes organization much easier.
Step 3: Create Groups for Better Organization
When you manage multiple cameras, grouping them is a game changer.
I created groups based on location and purpose.
For example:
- Home Group
- Front Door
- Living Room
- Garage
- Office Group
- Reception
- Main Hall
- Storage Area
Now, whenever I open the app, I can simply tap the group instead of scrolling through endless feeds.
Step 4: Customize the Camera Layout
Invid Elevate gives you flexible layouts for live view.
I personally prefer a 4-grid view because it balances screen space and clarity.
But if I’m focusing on security for my shop, I switch to 9-grid view to see everything at once.
Here’s what you can do:
- Open the Live View tab.
- Select the layout option.
- Drag and drop cameras into each slot.
- Save the layout for quick access.
This makes it super easy to check important areas without wasting time.
Step 5: Rename and Reorder Cameras
One issue I faced was that camera order felt random.
Thankfully, Invid Elevate allows renaming and reordering.
I renamed them clearly like “Cash Counter Cam” instead of default codes.
Then, I reordered them by importance:
- Most critical feeds first (entrances, cash points).
- Less important feeds later (parking, hallways).
This order helps during emergencies when every second counts.
Step 6: Set Up Notifications Properly
What I really like about the app is its custom notification system.
At first, I used to get spammed with alerts for every small movement.
Later, I customized notifications to only trigger on specific cameras.
For example:
- Front Door → Motion alerts enabled.
- Office Hall → Alerts during night only.
- Backyard → Alerts disabled (too many false triggers).
Organized notifications save you from unnecessary stress.
Step 7: Use Cloud & Local Storage Wisely
Invid Elevate lets you connect with both cloud and local storage.
I split it smartly:
- Cloud Storage for critical cameras like front door and office.
- Local Storage (HDD/NVR) for secondary areas.
This not only organizes footage but also prevents unnecessary storage use.
Step 8: Regularly Review and Clean Your Setup
I learned that organizing once is not enough.
Every month, I:
- Review camera placement.
- Delete unused devices.
- Update names if needed.
- Test live view layouts.
This habit keeps the app clean and functional.
My Personal Experience with Invid Elevate
At first, I was overwhelmed because I thought only experts could manage it.
But with time, I realized Invid Elevate app is actually designed for beginners too.
Now, I can easily switch between my home setup and office setup in just a few taps.
It feels satisfying to see everything neatly organized.
If you’re just starting, my advice is: keep names simple, groups logical, and layouts minimal.
Helpful External Resources on How to Organize Camera on Invid Elevate App
If you want to dive deeper, you can also check:
- Invid Tech Official Website – official manuals and updates.
- Security Camera Forum – real users share tips.
These helped me learn additional tricks.
Final Thoughts
Learning how to organize camera on Invid Elevate app was a journey for me.
At first, it looked complicated, but once I followed steps like renaming, grouping, and customizing layouts, everything became smooth.
If you’re using multiple cameras, trust me, taking time to organize will save you countless hours later.
It not only makes monitoring easier but also ensures better security. Now, every time I open the app, I feel confident that I can access any feed instantly.